$10.50
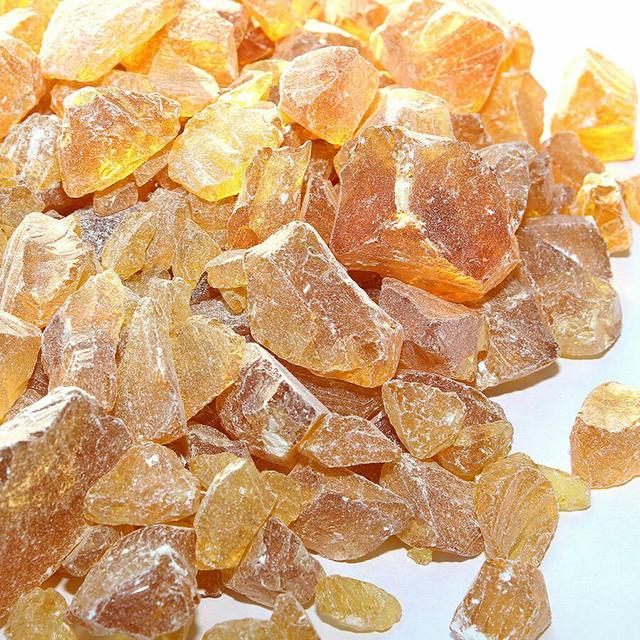
100% Natural Pine Rosin with no additives: Rosin is safe to be in contact with food, for food wrapping and packaging. Comes in chunks with some powder.
Country of origin: Brazil
DIY Reusable Food Wrap compliments of mommypotamus
It really depends on the size and number of sheets you want to make. I wanted a small, medium, and large assortment, so I cut mine into 8×8, 11×11, and 14×14 inch squares. Here’s how much I used for one sheet of each size:
DIRECTIONS:
1. Preheat your oven to 225F
2. Cut your fabric into the sizes you prefer. I wanted to have a small, medium, and large assortment, so I cut mine into 8×8, 11×11, and 14×14 inch squares.
3. Lay parchment paper over the baking sheet, then place your fabric on top. Sprinkle your beeswax/resin/jojoba oil mixture evenly over the top.
4. Place sheet in the oven and bake until the mixture is fully melted. This should take between 5-10 minutes.
5. Using the paintbrush, spread the mixture evenly over the fabric. In order to take this photo I took the sheet out of the oven, but usually, I just pull the sheet slightly out of the oven, brush, and then pop it back in to let the mixture even out for another minute or so. Fyi, the mixture will adhere to the paintbrush just like it does with the cloth. I bought an inexpensive brush that I keep just for this purpose.
6. When the mixture is evenly melted, remove the baking sheet from the oven and lift the sheet with tongs. I wave mine in the air to allow it to cool enough to touch (it doesn’t take long it all) then hang it somewhere so that it can “set.” This can be your laundry area if you have clothespins in there. I just waved mine around until they were mostly cool, then hung them over the back of a chair to cure. Keep in mind that it will feel very tacky at first. That mellows out fairly quickly. The end result will have grip but not be super sticky.